
Table of Contents
In Horizon Zero Dawn, power cells are hidden items that help you unlock one of the most powerful armors in the game. Many players miss them during their playthrough because they are well hidden, and some are located in places you only visit once. If you want to collect every power cell in HZD, this guide will help you understand where to find them, how they work, and why they are so important.
What Are HZD Power Cells?
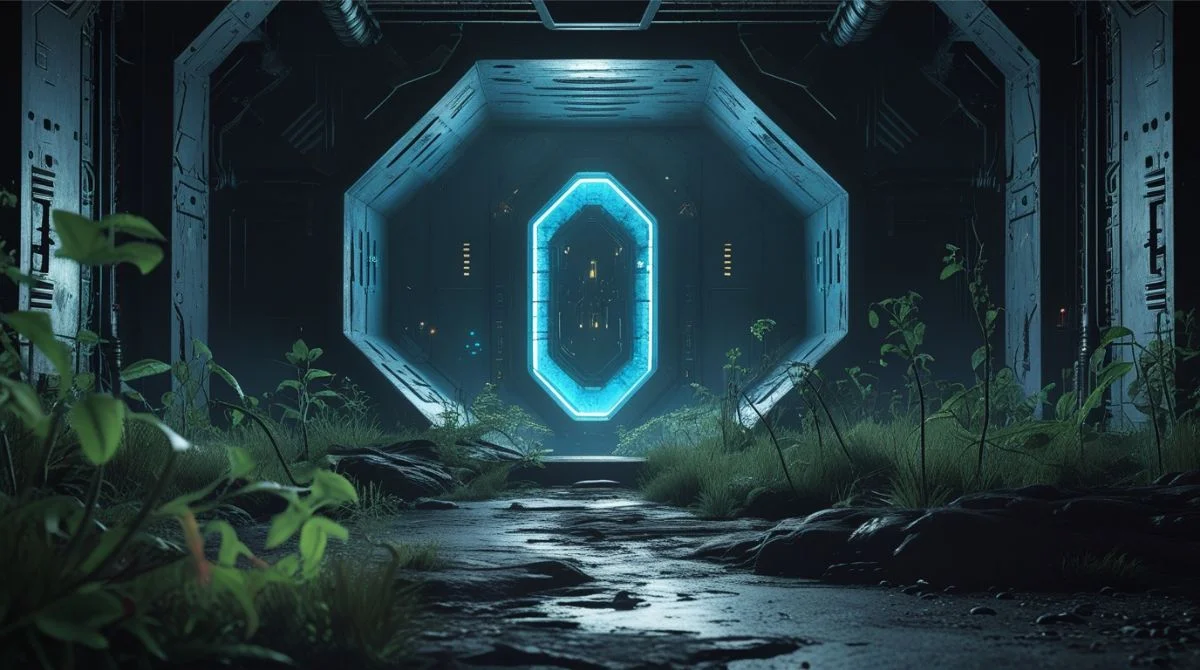
HZD power cells are ancient energy items used to open a secret door inside a hidden bunker. This bunker holds a high-tech outfit known as the Shield-Weaver armor. This armor is very strong and can protect you from a lot of damage, making it perfect for hard battles.
You need five power cells to unlock this armor completely. These are not random items. You must visit specific locations and search carefully to find them. Some are available early in the game, while others come later during main story missions.
Why Power Cells Matter?
Here’s why these small items are a big deal:
- They give you access to the best armor in the game.
- The Shield-Weaver armor creates a temporary energy shield that absorbs damage.
- It recharges over time and gives you a huge advantage in tough fights.
- Finding all power cells gives you a sense of achievement as a completion.
Where to Find All 5 Power Cells?
Let’s break down the exact locations of all five power cells in simple steps.
1. Ruins from Aloy’s Childhood
- When to get it: After the Proving quest is completed.
- Where it is: Return to the cave where Aloy fell as a child.
- How to reach it: Use your spear to break the damaged rocks that blocked your path earlier. The power cell is inside the cave, in a small side room.
Important note: This location is easy to forget, so grab it early.
2. All-Mother Mountain
- When to get it: After the Proving, when you wake up in the All-Mother Temple.
- Where it is: Inside the temple, where the Nora takes you after you’re injured.
- How to reach it: Before exiting the temple, look for a crawlspace near the main door. Crawl through and find the power cell in a small room.
Tip: This one is also missable, so don’t leave the temple without checking.
3. Maker’s End
- When to get it: During the main story quest called “Maker’s End.”
- Where it is: Near the top of the Faro skyscraper.
- How to reach it: After reaching the top floor with Faro’s office, look for a place to climb even higher using handholds. At the very top is a small room with the power cell.
Hint: This climb takes time, be patient, and explore every ledge.
4. Grave-Hoard
- When to get it: During the “Grave-Hoard” main mission.
- Where it is: Inside the old war base.
- How to reach it: After solving the three ring puzzles and opening the big metal door, go into a side room on the left. The power cell is sitting there near some broken equipment.
Note: Keep an eye out, this one blends in with the surroundings.
5. GAIA Prime
- When to get it: In the quest “The Mountain That Fell.”
- Where it is: Inside the GAIA Prime ruins.
- How to reach it: After entering the ruins and crossing a broken bridge, look up and climb the rocks. There’s a narrow path that leads to a hidden platform where the final power cell sits.
Advice: This one’s the last, so take your time and double-check all paths.
How to Use the Power Cells?
After you’ve collected all five power cells, here’s what to do:
- Go to the Ancient Armory: It’s a bunker located near the Nora Sacred Lands.
- Enter the bunker: Use the first two power cells to unlock the first door.
- Solve the rotating puzzle: Set the dials in the correct position to open the next door.
- Insert the remaining three cells: This powers up the armor chamber.
- Get the Shield-Weaver Armor: After powering it up, you can open the casing and collect your reward.
Tips for Success
- Use your Focus scanner: It highlights power cells in purple.
- Track your quest: Activating the “Ancient Armory” side quest will mark the location on your map.
- Don’t forget early-game locations: Once you pass them, it’s easy to forget to return.
- Explore carefully: Some power cells are tucked away in corners, crawlspaces, or high ledges.
Summary Table of Power Cell Locations
| Power Cell Location | When to Get It | Missable |
| Childhood Ruins | After The Proving | Yes |
| All-Mother Temple | After waking in the cave | Yes |
| Maker’s End | Mid-game main mission | No |
| Grave-Hoard | Mid to late-game mission | No |
| GAIA Prime | Near the end of the story | No |
Conclusion
Finding all HZD power cells is more than just a fun side quest; it gives you the best armor in the game, which completely changes how you handle enemies. The Shield-Weaver armor gives you a strong edge and helps you survive longer, especially during boss fights and intense machine encounters. This guide keeps everything clear and simple so you can enjoy the hunt and unlock that powerful reward without stress. Whether you’re a new player or someone returning to finish every challenge, these power cells are worth the effort.