
Table of Contents
If you’ve ever wondered how professionals fasten metal, plastic, leather, or even wood without using screws or welding, the answer is often simple: rivets and tools. Riveting is a reliable and efficient method to assemble materials securely and neatly. Whether you’re a DIY enthusiast or working on a professional project, understanding how to use rivets and tools will help you achieve perfect assembly with ease.
What Are Rivets?
Rivets are small, cylindrical fasteners with a head on one end. You insert them through holes in the materials you want to join, then flatten or expand the other end, creating a strong, permanent hold. They are widely used in construction, automobiles, aircraft, furniture, and even household repairs.
The beauty of rivets is that they provide a tight grip without the need for welding or threading, making them ideal for both heavy-duty and lightweight assemblies.
Tools You Need for Riveting
To use rivets properly, you need the right tools. The good news is, these tools are simple and easy to handle:
- Hand Rivet Gun (Manual Riveter): Perfect for light projects like assembling thin metal sheets or plastic.
- Battery-Powered Rivet Tool: Great for quick, repetitive tasks.
- Pneumatic Rivet Gun: Uses air pressure for heavy-duty jobs like car frames or metal structures.
- Rivet Squeezer or Press: Offers even pressure from both sides, ensuring neat finishes, especially for flush rivets.
- Drill and Drill Bits: Required to make holes for the rivets.
- Safety Gear: Gloves and eye protection are a must for safety during the assembly process.
Step-by-Step Guide to Using Rivets and Tools for Perfect Assembly
Here’s how to assemble materials using rivets the right way:
Step 1: Choose the Right Rivet
Select a rivet suitable for your materials:
- Aluminum rivets: Lightweight, rust-resistant, perfect for soft materials.
- Steel rivets: Strong, ideal for heavy-duty assemblies.
- Copper or Brass rivets: Good for decorative purposes or electrical projects.
Also, check the rivet length. It should be long enough to go through the materials and still leave enough length to form the second head when flattened.
Step 2: Prepare the Materials
Align the parts you want to join. Mark the spots where rivets will go. Ensure the spacing is even for a strong and neat finish. Clap or hold the materials together to avoid movement during the process.
Step 3: Drill the Holes
Using the drill, create holes at the marked spots. The hole size should be slightly larger than the rivet’s shank to allow smooth insertion but tight enough to grip securely.
Pro Tip: Drill slowly to avoid damaging delicate materials. Clean any burrs or sharp edges around the holes.
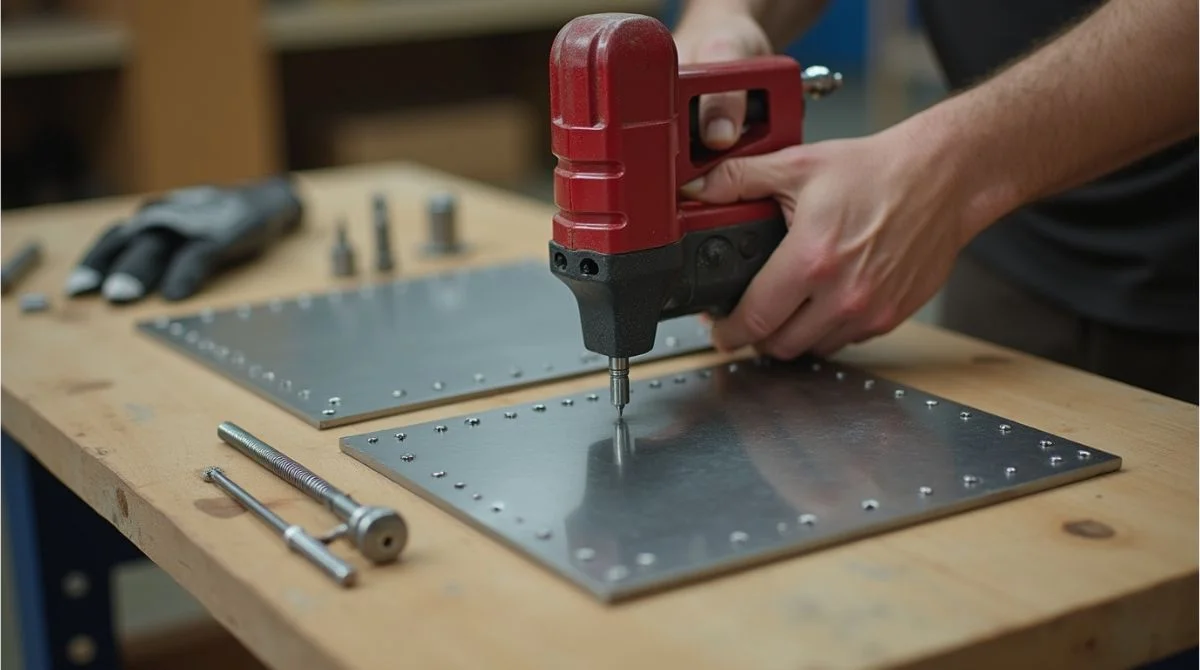
Step 4: Insert the Rivet
Place the rivet through the hole. The head should sit firmly against the surface, with the tail sticking out on the other side. For blind rivets (also called pop rivets), you only need access to one side, making them perfect for enclosed spaces.
Step 5: Use the Rivet Tool
Depending on your tool:
- Hand Rivet Gun: Insert the mandrel into the gun. Squeeze the handles until the stem snaps, securing the rivet.
- Battery or Pneumatic Tool: Place the rivet and trigger the tool for automatic installation.
- Squeezer or Press: Apply steady pressure to flatten the tail end neatly.
The rivet expands or flattens, locking the materials together tightly.
Step 6: Inspect Your Work
Once installed, check that:
- Both sides of the rivet sit flush with the material.
- The joint is tight with no gaps.
- All rivets are evenly spaced and aligned.
If any rivets are loose or uneven, replace them for a perfect finish.
Tips for Perfect Rivet Assembly
- Use rivets made from the same material as your project to avoid corrosion.
- Always pre-test one rivet before assembling the whole structure.
- Maintain even spacing between rivets for balanced strength.
- Use the correct rivet length to prevent weak joints.
- Clean your tools regularly for smooth operation.
For aesthetic assemblies like leatherwork, choose decorative rivets for a stylish look.
Where to Use Rivets and Tools
Rivets are used in countless projects, such as:
- Metal sheet assembly: For air conditioners, ductwork, or cabinets.
- Furniture making: Joining wood or metal frames.
- Leatherwork: Belts, bags, or decorative accessories.
- Automobile repairs: Securing body panels or interior parts.
- DIY home projects: Repairs, garden structures, or shelving.
Whether you’re fixing, building, or customizing, rivets provide a clean, professional finish without complicated equipment.
Different Types of Rivets for Various Assemblies
Knowing the right rivet for your job ensures strength and neatness:
| Rivet Type | Best For |
|---|---|
| Solid Rivets | Aircraft, bridges, heavy-duty |
| Blind (Pop) Rivets | Enclosed areas, quick repairs |
| Tubular Rivets | Soft materials, light structures |
| Split Rivets | Leather, plastic, crafts |
| Flush Rivets | Sleek finishes, aerodynamics |
| Self-Piercing Rivets | Assembling without drilling |
Advantages of Using Rivets and Tools
- Strong and Reliable: Riveted joints resist loosening from vibration.
- Clean Appearance: Flush rivets create smooth surfaces.
- Fast Assembly: Rivets are quicker than welding or bolting.
- Versatile: Suitable for metals, plastics, leather, and wood.
- Cost-Effective: Rivets and basic tools are affordable.
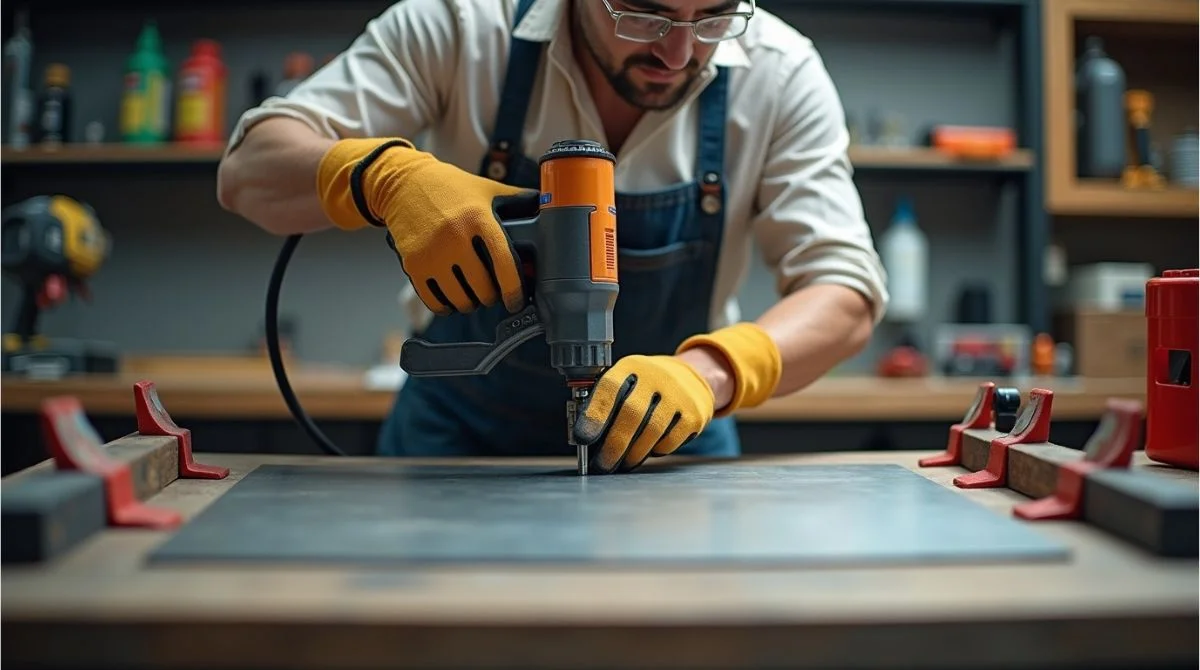
Safety Tips During Rivet Assembly
- Wear gloves to prevent hand injuries.
- Always use safety glasses to shield your eyes from debris.
- Secure materials with clamps to avoid movement during drilling.
- Double-check rivet size and placement before final assembly.
- Keep your tools in good condition for safe, efficient use.
Conclusion
Using rivets and tools for perfect assembly is easier than you think. With a few simple tools and the right technique, you can create strong, lasting connections for your projects. Whether you’re fixing a metal sheet, making furniture, or adding decorative touches to leather, riveting offers a professional, clean, and durable solution.
Related Topic: Dewalt Powertools: Full Guide for Pros & DIY Users